So I woke up this morning, feeling refreshed before the hub-bub of the day begins and we complete our preparation for camping at Ulladulla. From tomorrow, I will not be able to work on HMS Iron Duke for seven days as we will be relaxing in a caravan park under canvas for our annual beach holiday.
Feeling inspired, I thought I would take some photos of the Iron Duke in the early stages of the project.
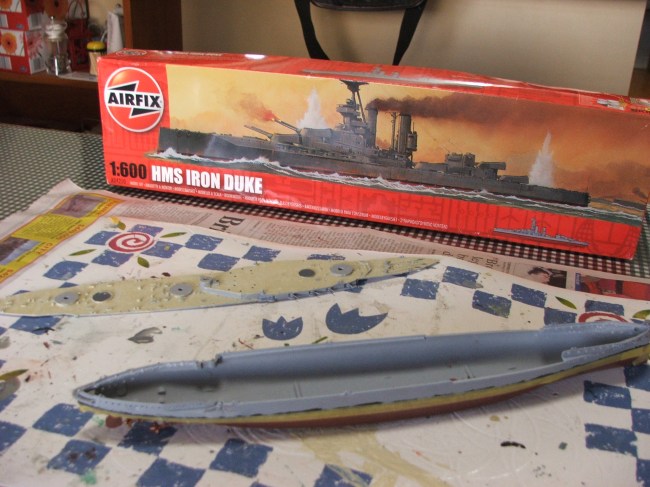
Here you can see the Airfix box, depicting the Iron Duke sailing into battle, presumably at Jutland in 1916. As I go along, I will post more information about the Battle of Jutland so readers will be able to see the historical context for this model.
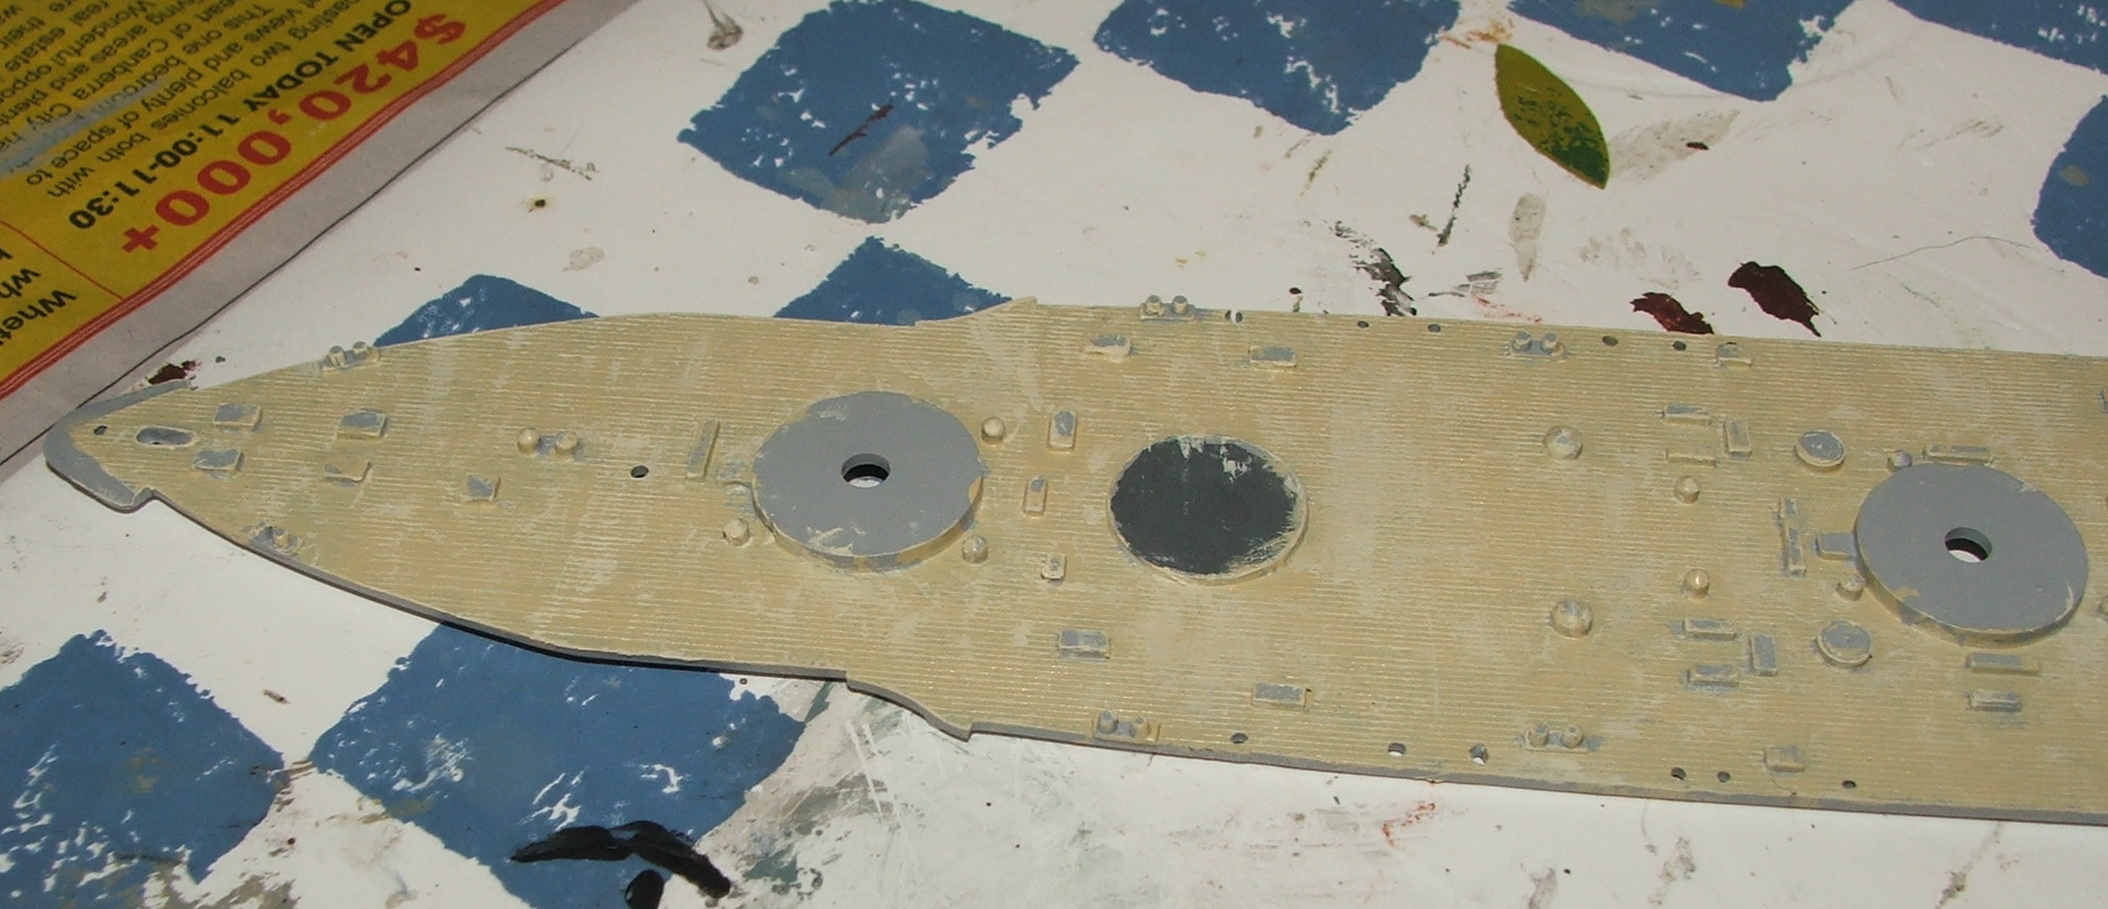
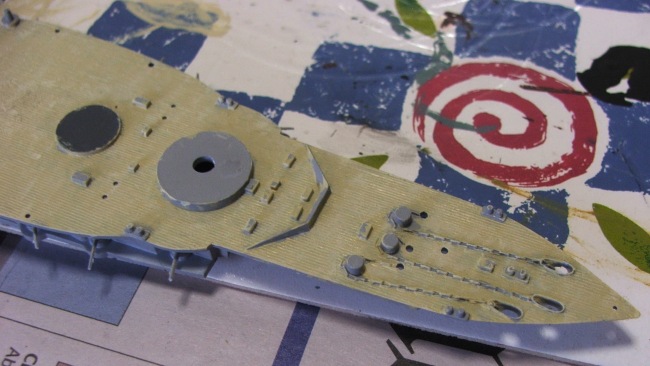
Below the box are the two major components of the model currently being worked on – the deck and the hull. The deck is about 50 per cent complete as I have now painted the wood colours on, attempting to bring out the very fine plank relief, using a dry brush technique.
I am using Humbrol enamel paints, which are oils. Humbrol is an English modelling company,which owns the Airfix brand of models.
The deck will be fiddly as there are many little box-like part on it, called facings. These boxes would have housed equipment and machinery. There are also the anchor capstans and the chains to do.

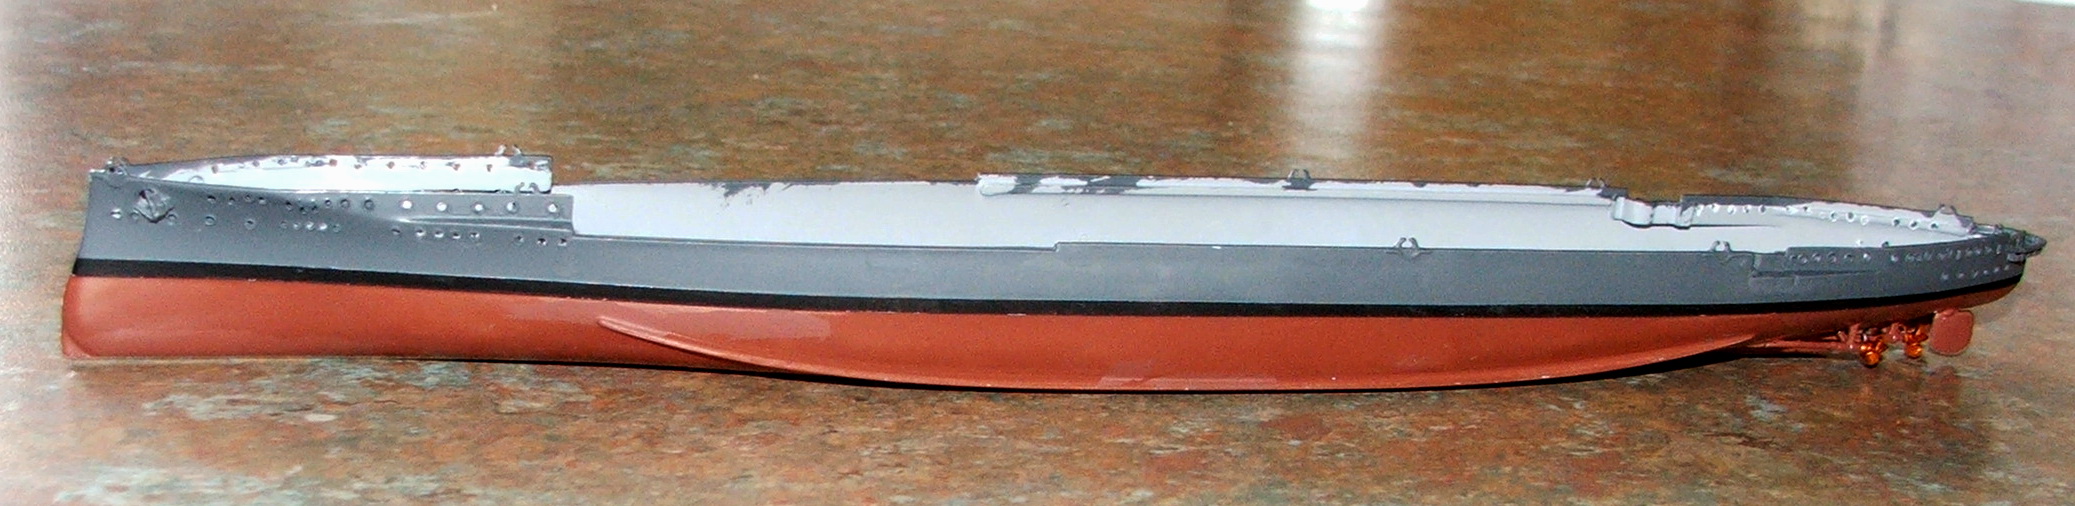
The hull is about 60 per cent complete. I have painted the bottom section of the hull with a maroon-spectrum colour, which represents the traditional Royal Navy anti-fouling paint used on warships to retard marine growth, such as barnacles.The black strip is the Plimsoll line, indicating the waterline of the ship where the surface of the sea came to on the hull.
Above the Plimsoll line is the freeboard of the ship up to the deck. If you would like more information on Plimsoll lines, visit Wikipedia’s entry http://en.wikipedia.org/wiki/Waterline.
I have also drilled out the port holes of the ship, using my modelling drill – I’ll show you that in a later post.
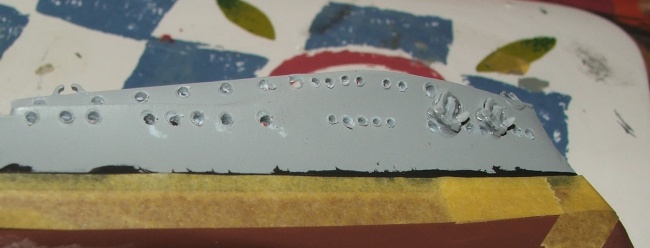
I have used masking tape to cover the Plimsoll, leaving the excess black to be painted over when I paint the freeboard with a dark grey as specified in the Airfix instructions. You can see here that I used probably a bit too much glue when attaching the anchors on the starboard side of the ship. (Starboard is the right side of the ship but at sea, you don’t have right and left, you have starboard and port).
On the port side, there is one anchor. When I was cutting this anchor of the sprue, I lost it – the curse of modellers everywhere. So I had to make an anchor out of excess sprue.

Above you can see the stern of the Iron Duke. The rudders and propellers are in position with the propellers painted copper. The propeller shafts were tricky to position as they were made too long – an issue I’ll discuss in more detail in another post.
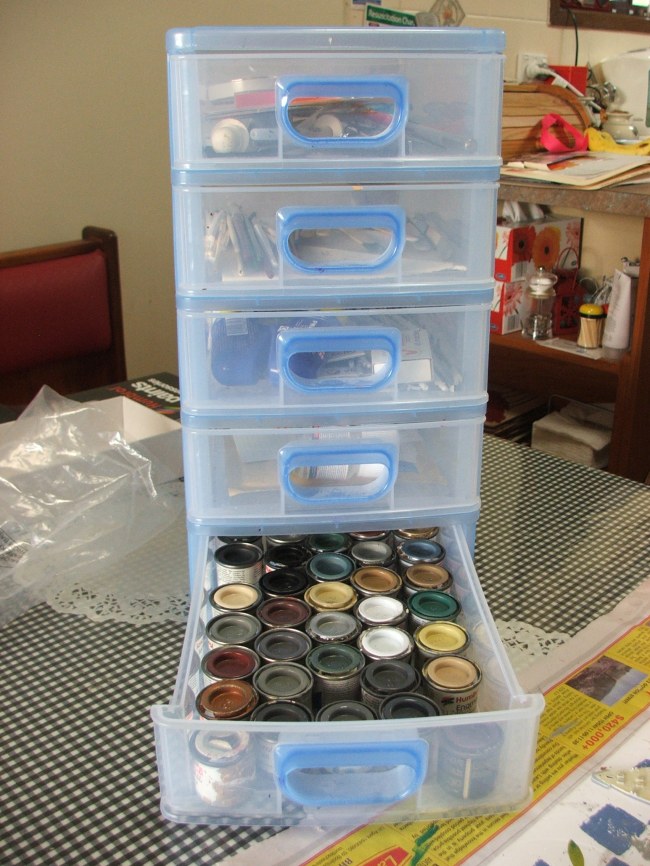
One day, perhaps, I’ll have my own modelling studio (inspired by my incredibly talented cousin Wendy, who is a bona fide artist with a studio where she teaches the Picassos and Monets of the future) but for now, I have my equipment (paints, tools, glues, thinners, brushes) in this easy-to-carry set of drawers.
So, let’s see how we progress with the Iron Duke. I would like to have her (funny, isn’t it how vessels are given a female identity) finished by mid-February but no doubt there will be delays as life gets in the way of having some fun relaxing while modelling. That is modelling in the hobby context, not the glamorous celebrity life :).
Time for breakfast or otherwise this ship will be becalmed.